Drawing an Eagle by Autocad
Do you think drawing a bald eagle is hard? Many people are initially hesitant on learning how to draw an eagle because they think it's not easy.
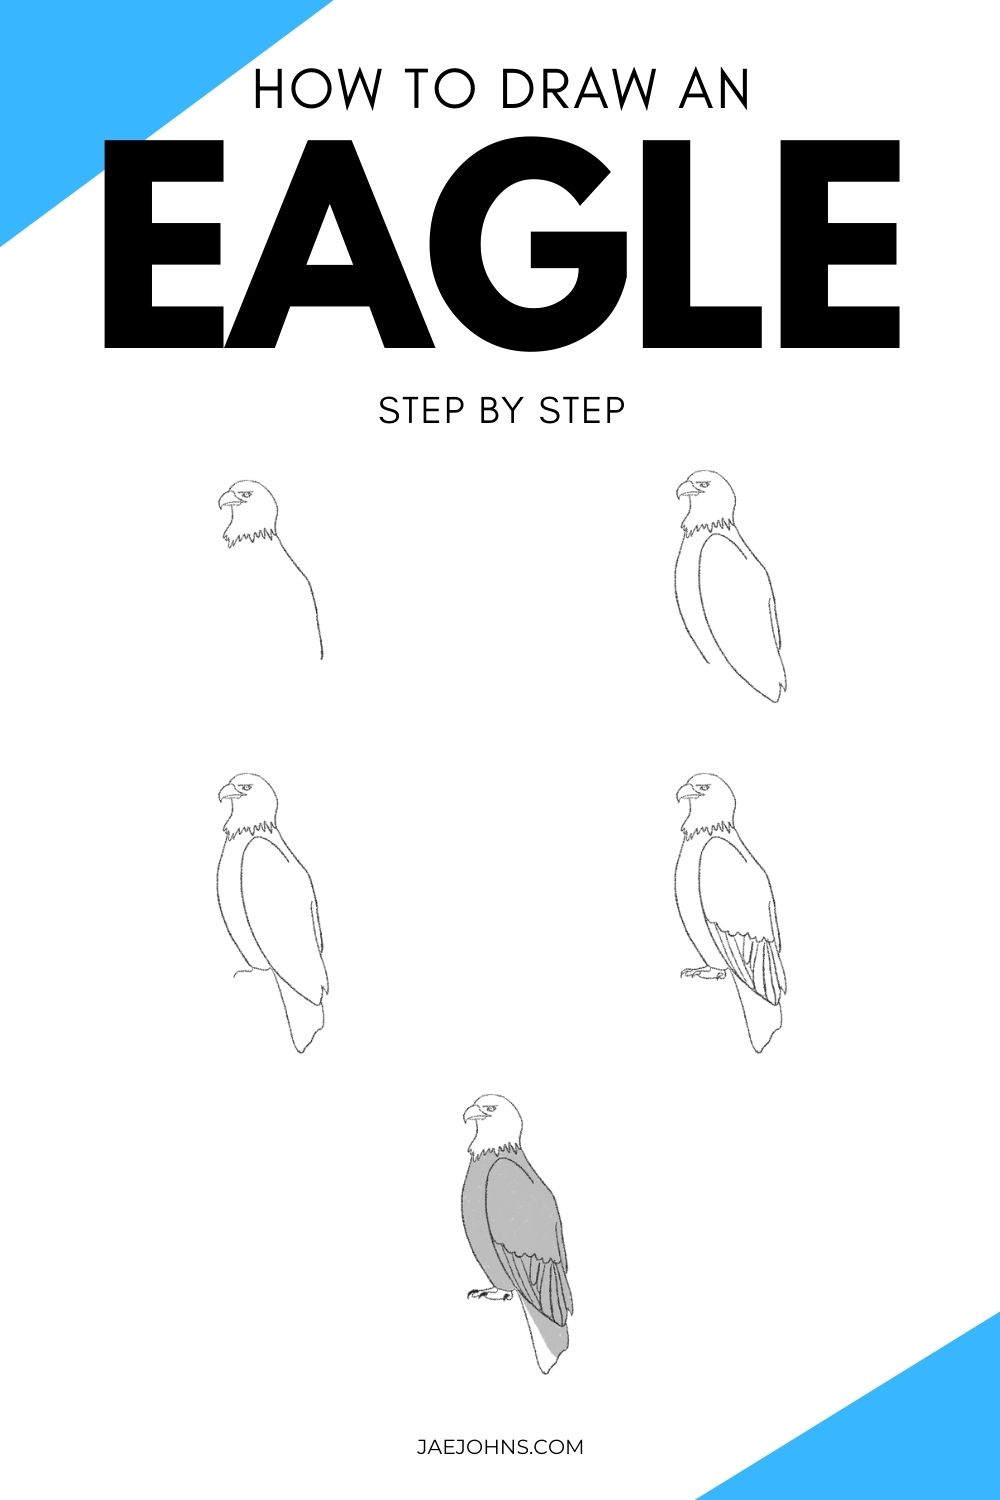
Did you know you can become a master at drawing a cool eagle in no time by following these simple step by step pictures?
These visuals will help you draw a bald eagle that anyone can follow.
Let's get started!
Other related topics to help you draw:
- How to Draw a Deer (Easy Step by Step with Pictures)
- How to Draw a Dolphin (9 Easy Steps with Pictures)
- Can Drawing Be A Career?
- How to Draw a Butterfly (10 Easy Steps)
- How to Draw a Cute Bunny (12 Easy Steps)
- Step by Step to Draw a Daffodil in Minutes
- How to Draw a Rose (7 Easy Steps)
Drawing Supplies Needed
All you need is something to draw with and something to draw on. Click on the following link if you want to know what are the best tools for drawing.
Step 1: Draw line for eagle beak

Start with a small curved line
Step 2: Add a line to finish the beak

At the bottom end of the curved line, curve another line inwards.
Where that ends curve yet another, smaller, line inwards and connect it to the top of the first curved line by curving it slightly outwards.
Step 3: Start drawing line for eagle brow

Below that shape create a small L shape, and then where the largest part of it is put a single straight line behind it.
Step 4: Draw eagle eye

Below that straight line create an almond shape with a large circle in the middle
Step 5: Draw eagle head
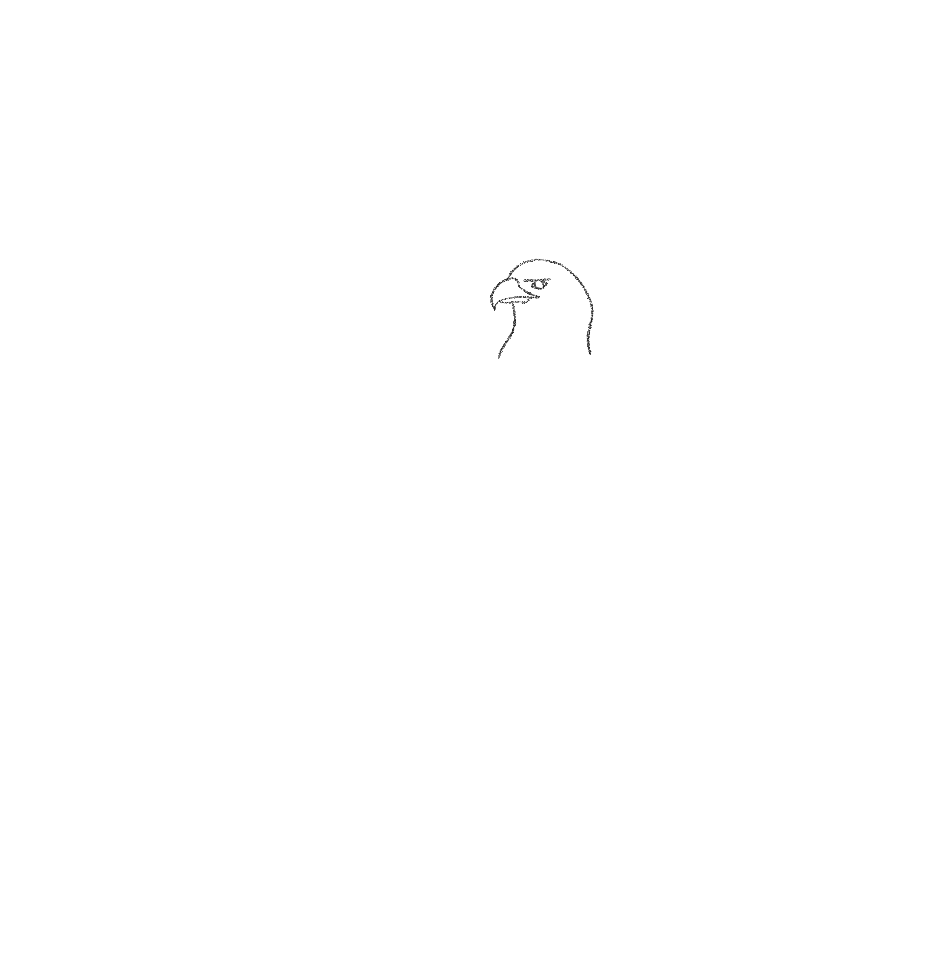
Now go back to the beak shape we made. Starting a little bit before the top hump of that beak we're going to make a line that curves around the eye and comes down behind it, ending with a slight inward curve.
Then, halfway through the bottom of the beak we'll do a similar motion but with an inwardly curved line.
Step 6: Draw the feathers at the end of eagle's head

Connect the ends of those two curved lines we made with soft zig zags!
Step 7: Start drawing eagle body
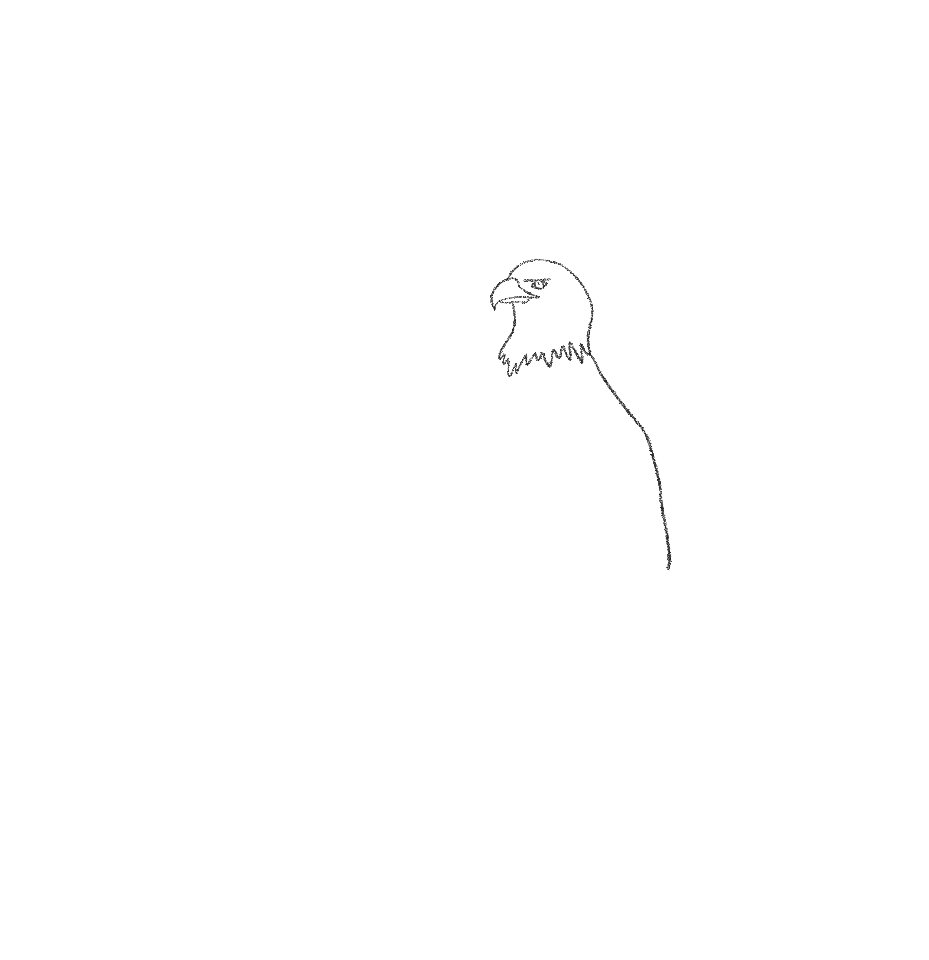
Now for the back of the body we'll create a little harper of a curved line wider at the base than the top.
Now, add a dot to the center of the eye for the pupil!
Step 8: Continue drawing the eagle's body
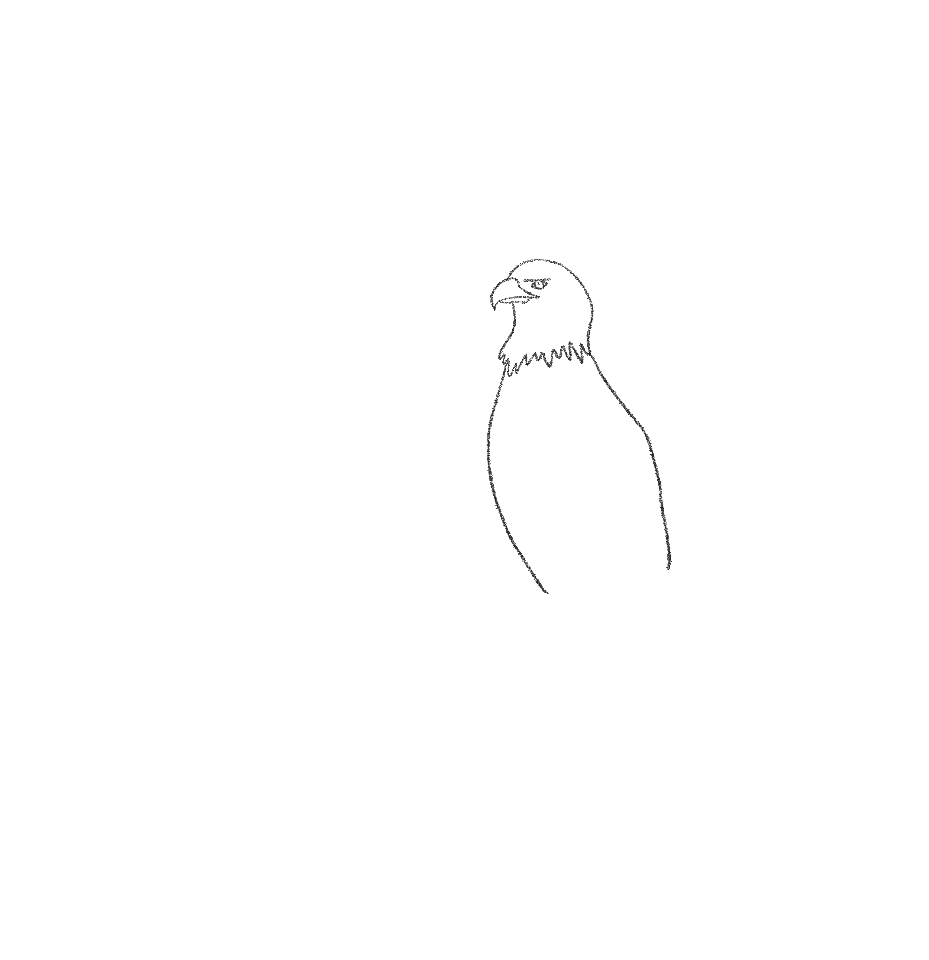
On the other side we'll make one smooth curvy line so that the space between starts to look a little like a bowling pin.
Step 9: Draw the eagle's wing
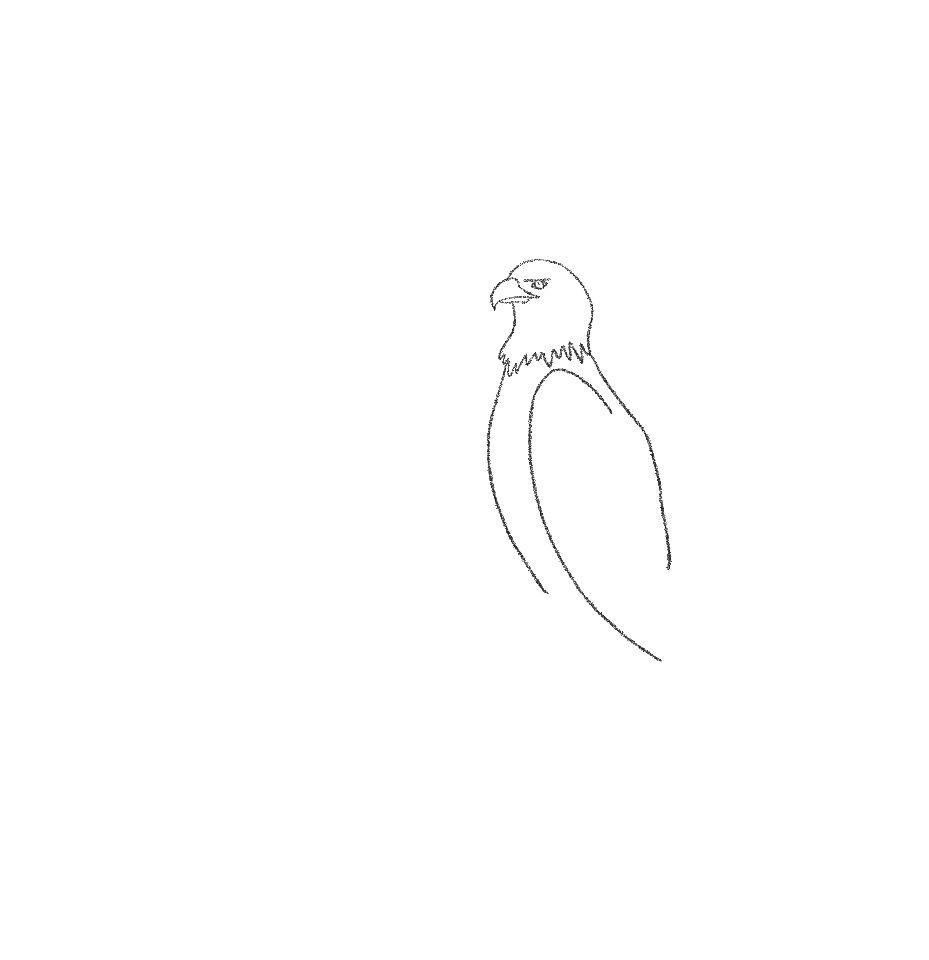
Where you make that downward curve on the back (the straighter one) we'll start a line a little above it on the space between the two lines from the previous step.
Make an elongated C shape and end it a bit further than the body guidelines are going.
Step 10: Finish drawing eagle's wing
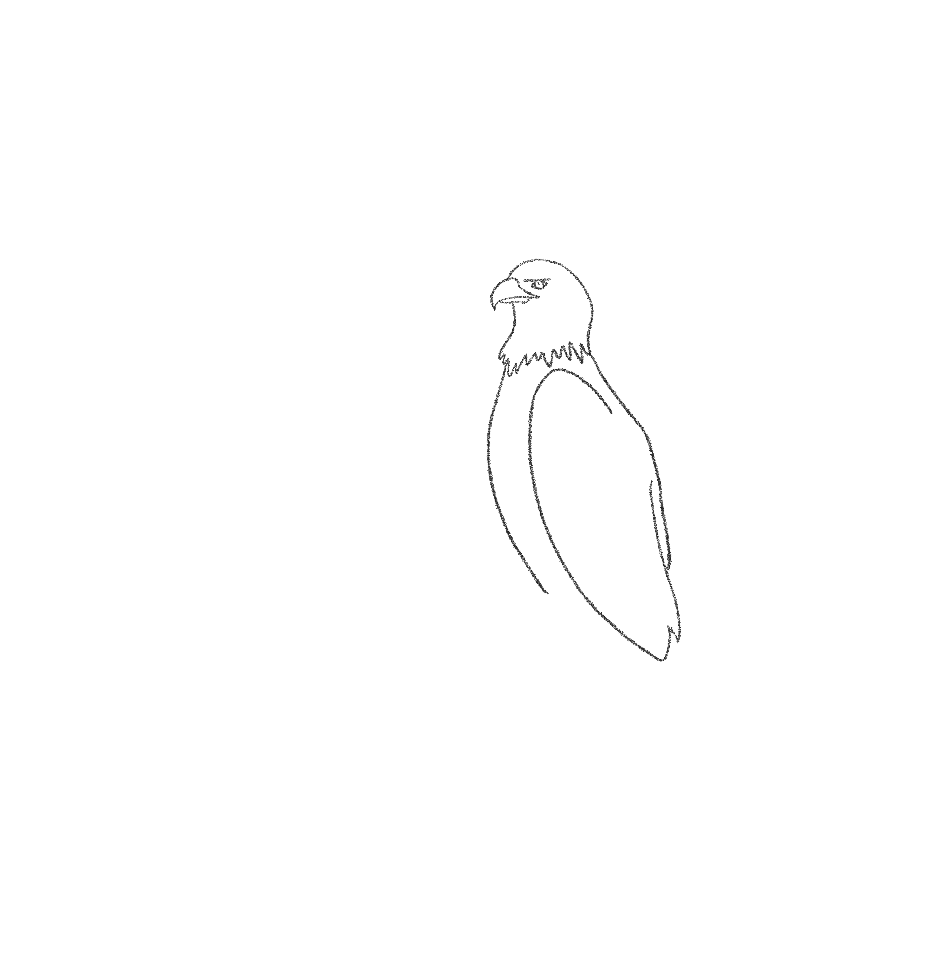
Close off the end of the wing with a soft triangle, a smaller triangle and a slightly curved inward line, but don't connect it to the body line!
Step 11: Start drawing the eagle's tail
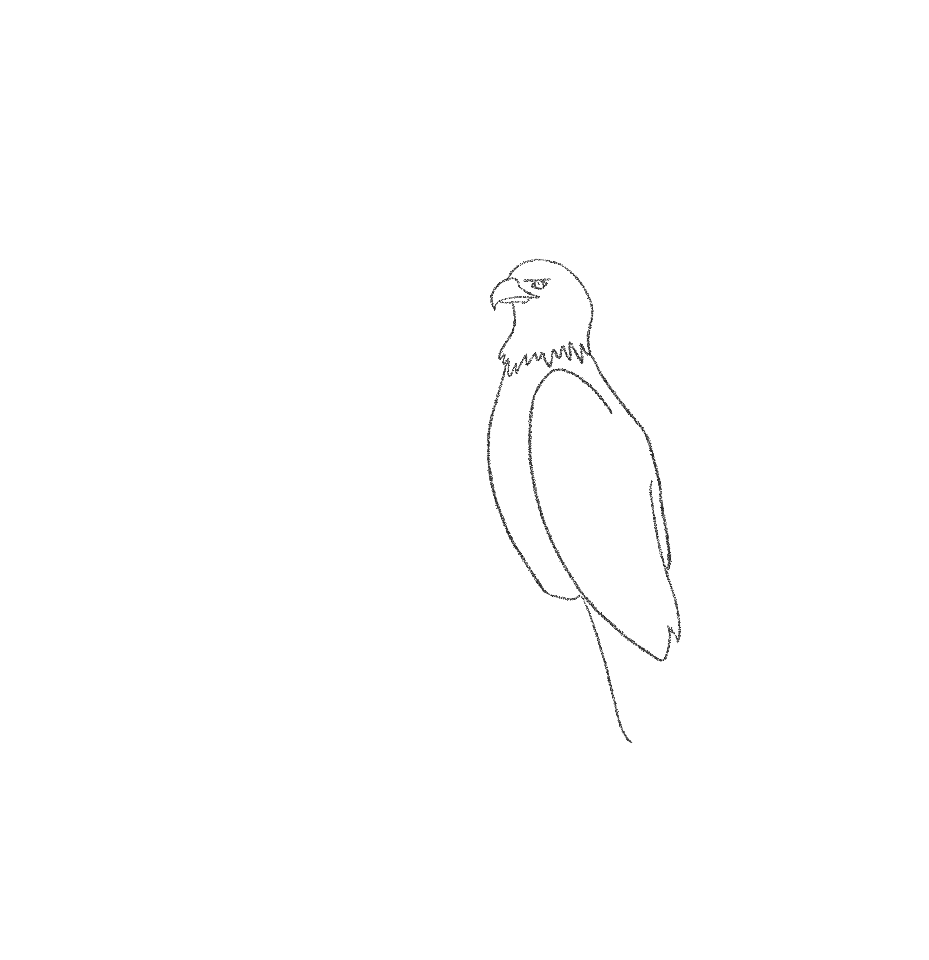
Below the wing create one more line going downward, and connect the front body line to that line with a rounded end.
Step 12: Finish drawing the tail
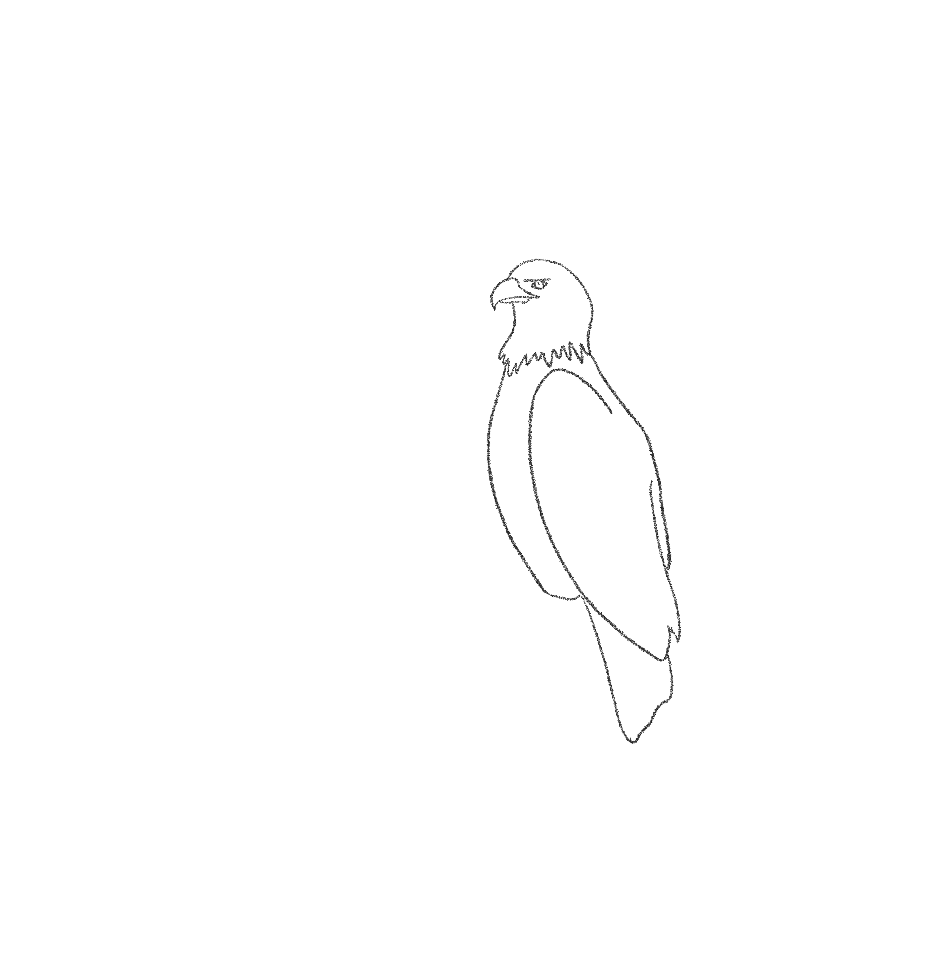
Now from the line we made going downwards continue it back upwards towards the wing, but don't make any of the lines completely straight! We want organic and rounded edges.
Step 13: Start drawing the eagle's claw
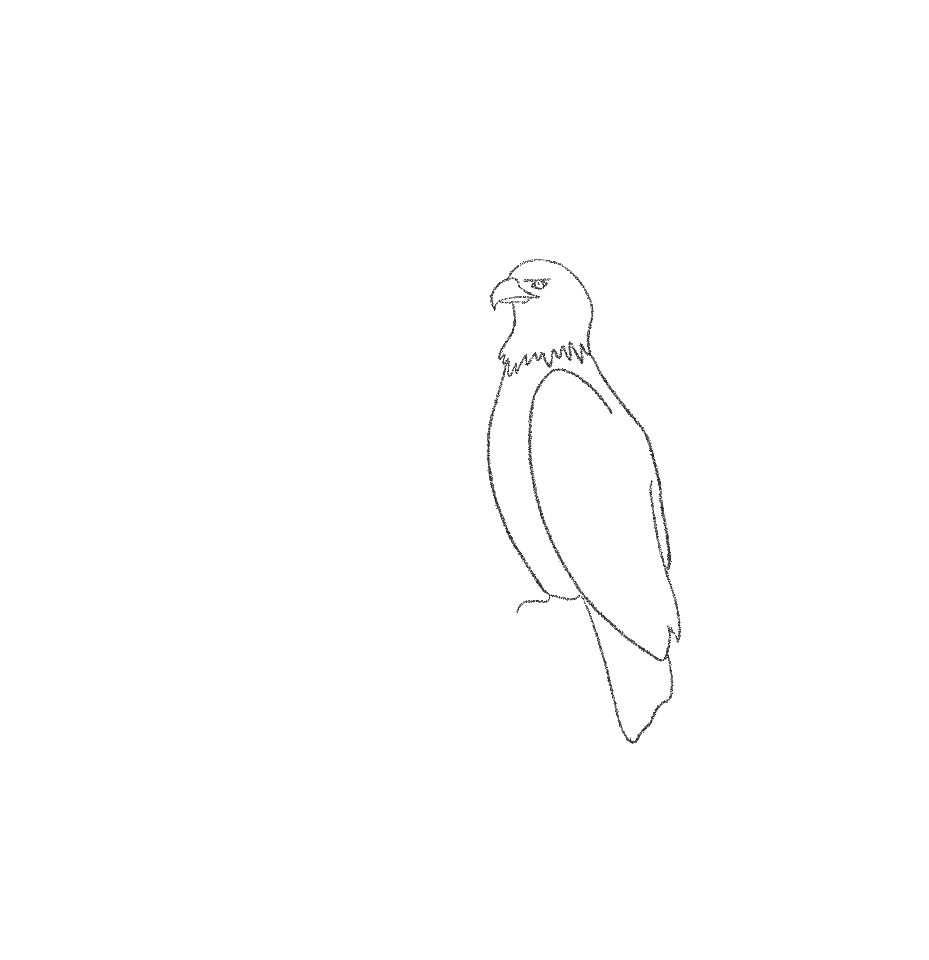
Now we'll move onto the feet. Create a small upside-down Z shape with rounded forms
Step 14: Continue drawing the eagle's claw
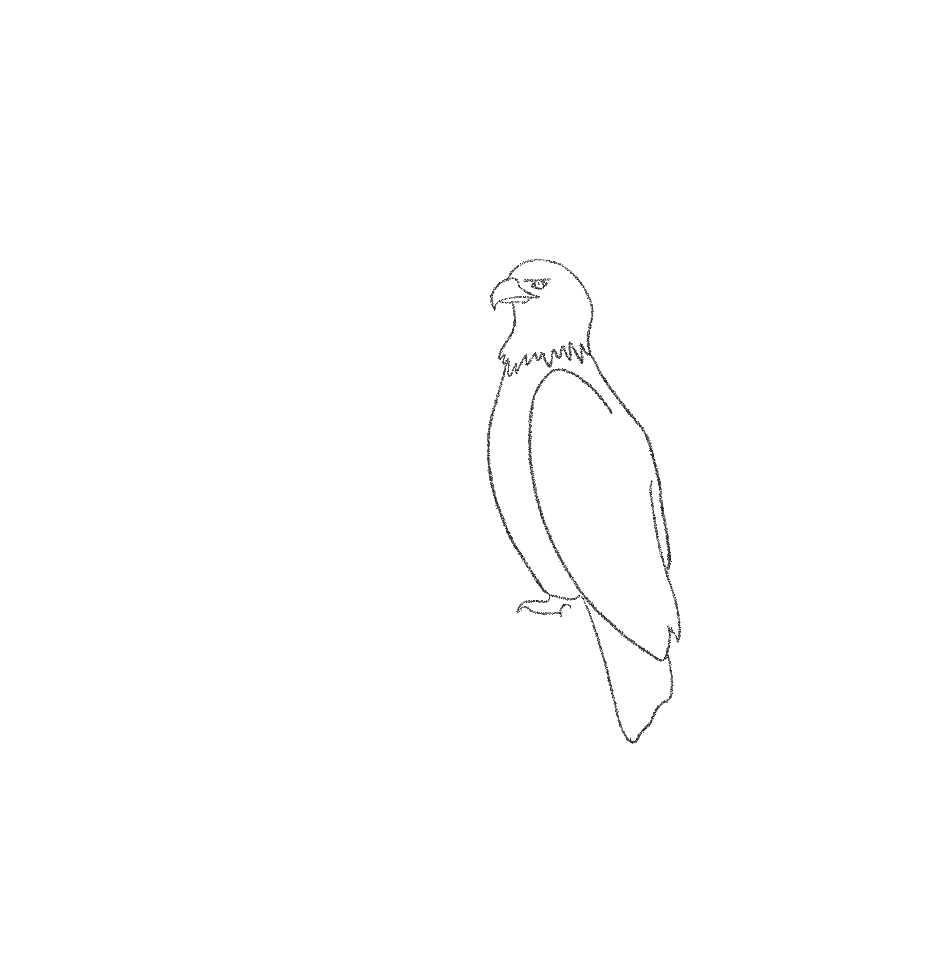
At the end of the shape we just made, we'll mark out the claw by bringing the next line up close to where the top line curves down.
Now, widen the space coming back towards the wind, and finally make a quick inward arc.
Step 15: Finish the eagle's claw
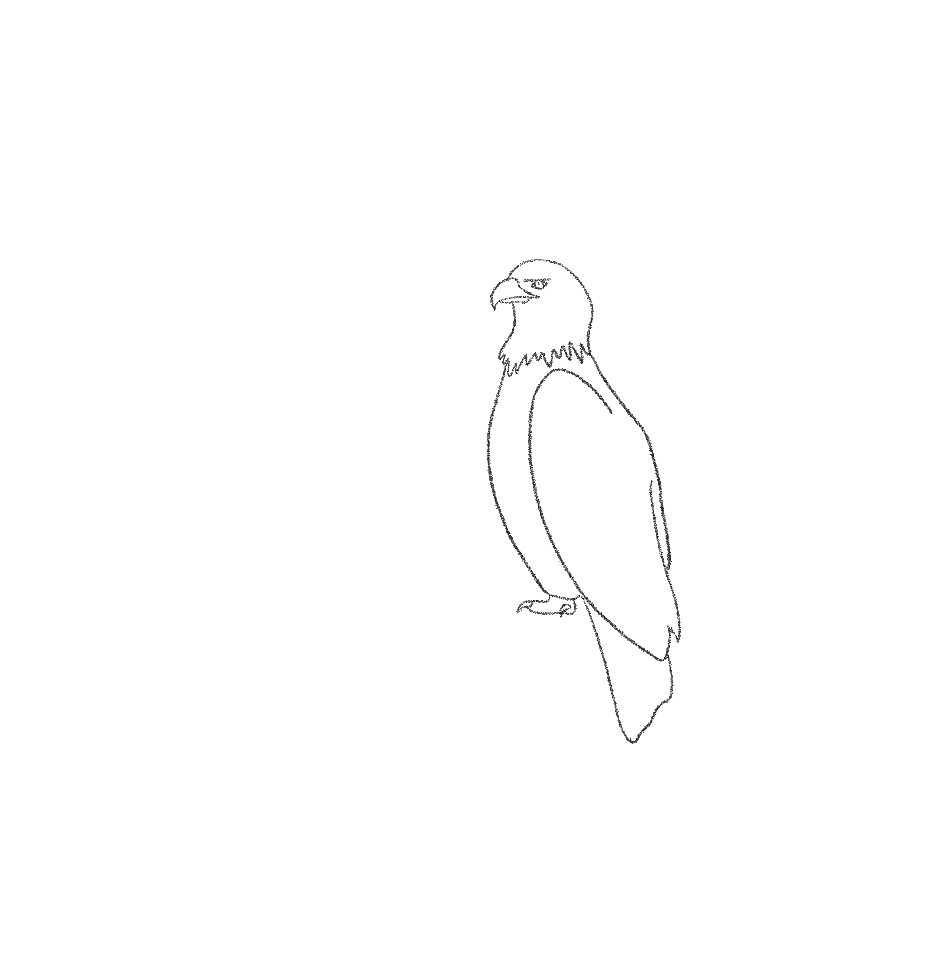
Close off those claws! The back claw will be created from where we ended the previous line, and behind it we'll round out the toe and bring it up to finish at the bottom of the leg.
Step 16: Add toes to claw
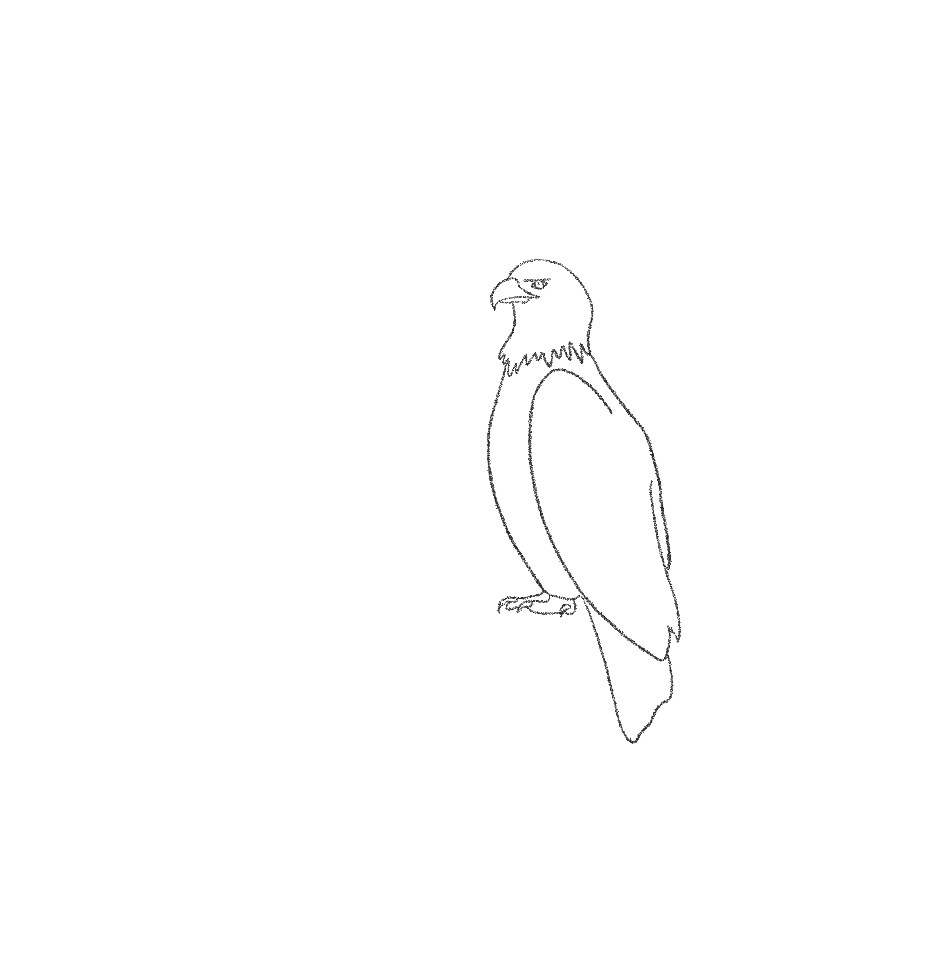
Add one more toe with a claw on the other side of the front claw following the same technique from the previous step
Step 17: Draw details to the eagle's wing
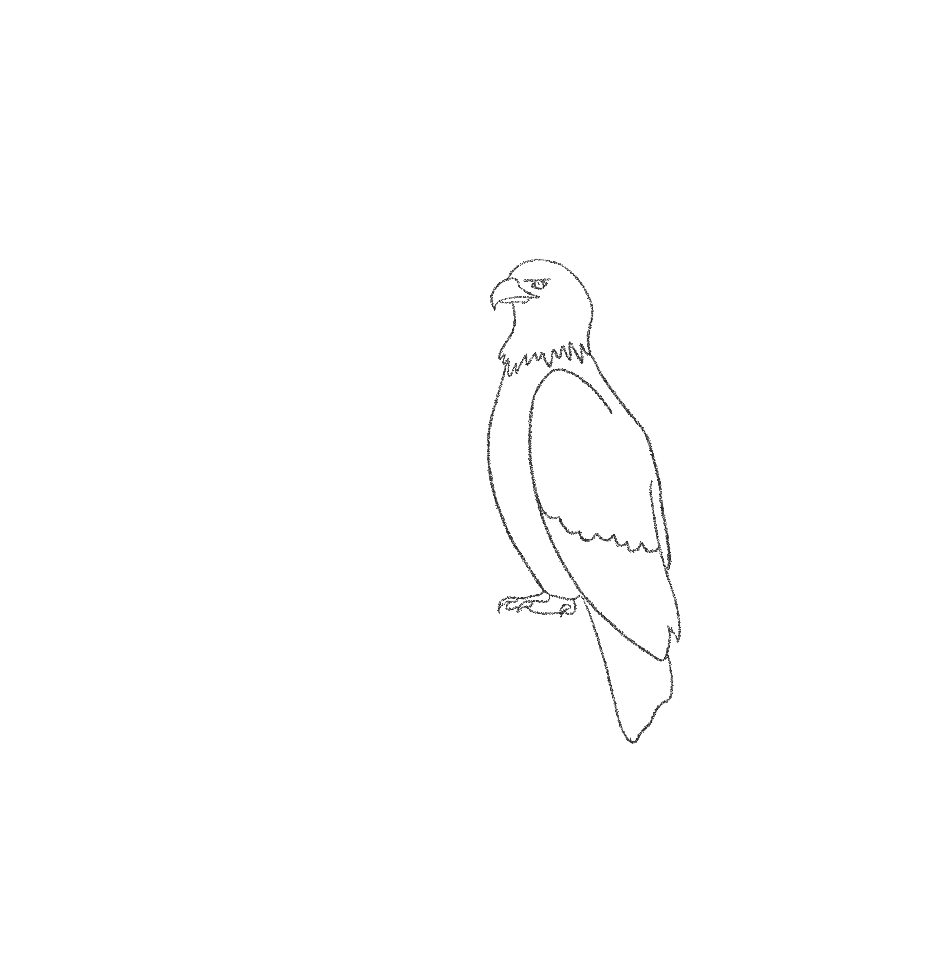
Now lets focus on details.. About halfway down the wind create some squiggly lines with clear rounded dips.
Step 18: Add more feathers to the eagle's wing
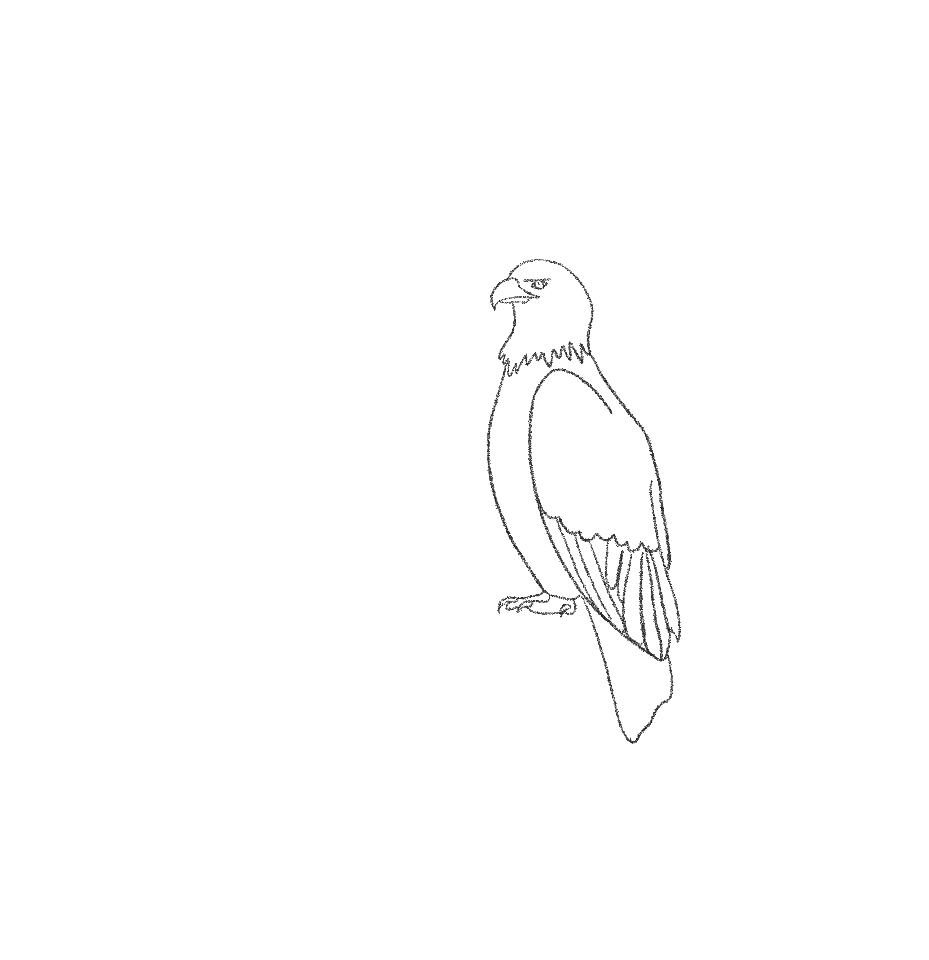
From the inner peaks of those dips in the squiggly line we'll bring curved lines (in the direction of the wing shape) down towards the end for the feathers!
Step 19: Add shading
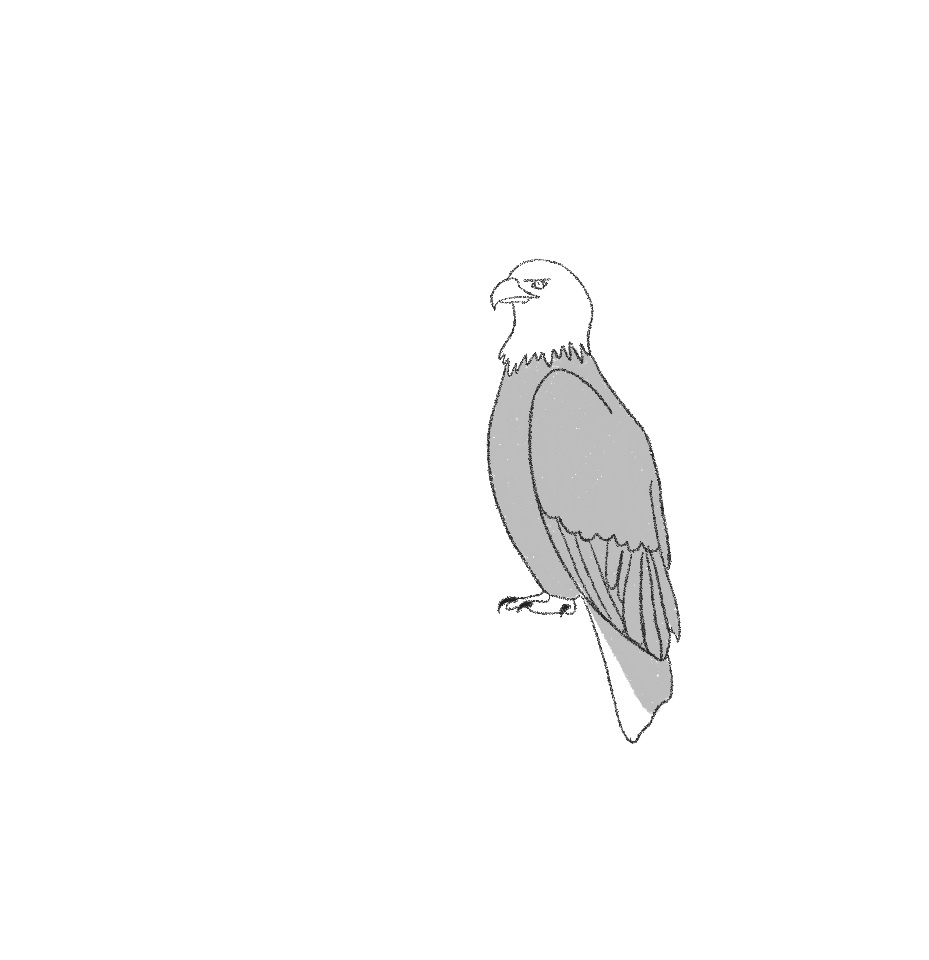
Now add some shading, fill in those claws, and you have an eagle!
I'd like to thank Carolyn for sharing her process. Be sure to check out her social @ClazDesign if you enjoyed her illustrations. She also has some amazing prints and illustrations available in her shop.
Active Time 20 minutes
Total Time 20 minutes
Difficulty Easy
Estimated Cost $0
Materials
- Pencil
- Paper
- Or tablet and stylus
Tools
- Pencil
- Paper
- Or tablet and stylus
Instructions
- Step 1: Draw a line for the eagle beak. Start with a small curved line
- Step 2: Add a line to finish the beak. At the bottom end of the curved line, curve another line inwards. Where that ends curve yet another, smaller, line inwards and connect it to the top of the first curved line by curving it slightly outwards.
- Step 3: Start drawing a line for eagle brow. Below that shape, create a small L shape, and then where the largest part of it is put a single straight line behind it.
- Step 4: Draw eagle eyes. Below that straight line create an almond shape with a large circle in the middle.
- Step 5: Draw an eagle head. Now go back to the beak shape we made. Starting a little bit before the top hump of that beak we're going to make a line that curves around the eye and comes down behind it, ending with a slight inward curve. Then, halfway through the bottom of the beak, we'll do a similar motion but with an inwardly curved line.
- Step 6: Draw the feathers at the end of the eagle's head. Connect the ends of those two curved lines we made with soft zig zags!
- Step 7: Start drawing an eagle's body. Now for the back of the body, we'll create a little harper of a curved line wider at the base than the top. Now, add a dot to the center of the eye for the pupil!
- Step 8: Continue drawing the eagle's body. On the other side, we'll make one smooth curvy line so that the space between starts to look a little like a bowling pin.
- Step 9: Draw the eagle's wing. Where you make that downward curve on the back (the straighter one) we'll start a line a little above it on the space between the two lines from the previous step. Make an elongated C shape and end it a bit further than the body guidelines are going.
- Step 10: Finish drawing the eagle's wing. Close off the end of the wing with a soft triangle, a smaller triangle, and a slightly curved inward line, but don't connect it to the body line!
- Step 11: Start drawing the eagle's tail. Below the wing create one more line going downward, and connect the front body line to that line with a rounded end.
- Step 12: Finish drawing the tail. Now from the line we made going downwards continue it back upwards towards the wing, but don't make any of the lines completely straight! We want organic and rounded edges.
- Step 13: Start drawing the eagle's claw. Now we'll move onto the feet. Create a small upside-down Z shape with rounded forms.
- Step 14: Continue drawing the eagle's claw. At the end of the shape we just made, we'll mark out the claw by bringing the next line up close to where the top line curves down. Now, widen the space coming back towards the wind, and finally make a quick inward arc.
- Step 15: Finish the eagle's claw. Close off those claws! The back claw will be created from where we ended the previous line, and behind it, we'll round out the toe and bring it up to finish at the bottom of the leg.
- Step 16: Add toes to claw. Add one more toe with a claw on the other side of the front claw following the same technique from the previous step.
- Step 17: Add details to the eagle's wing. Now, let's focus on details. About halfway down the wind create some squiggly lines with clear rounded dips.
- Step 18: Add more feathers to the eagle's wing. From the inner peaks of those dips in the squiggly line, we'll bring curved lines (in the direction of the wing shape) down towards the end for the feathers!
- Step 19: Add shading. Now add some shading, fill in those claws, and you have an eagle!
Source: https://jaejohns.com/how-to-draw-an-eagle/
0 Response to "Drawing an Eagle by Autocad"
إرسال تعليق